Mortal Shell II Combat, Harden, and Posture
How stamina-free fighting actually works in Mortal Shell II.
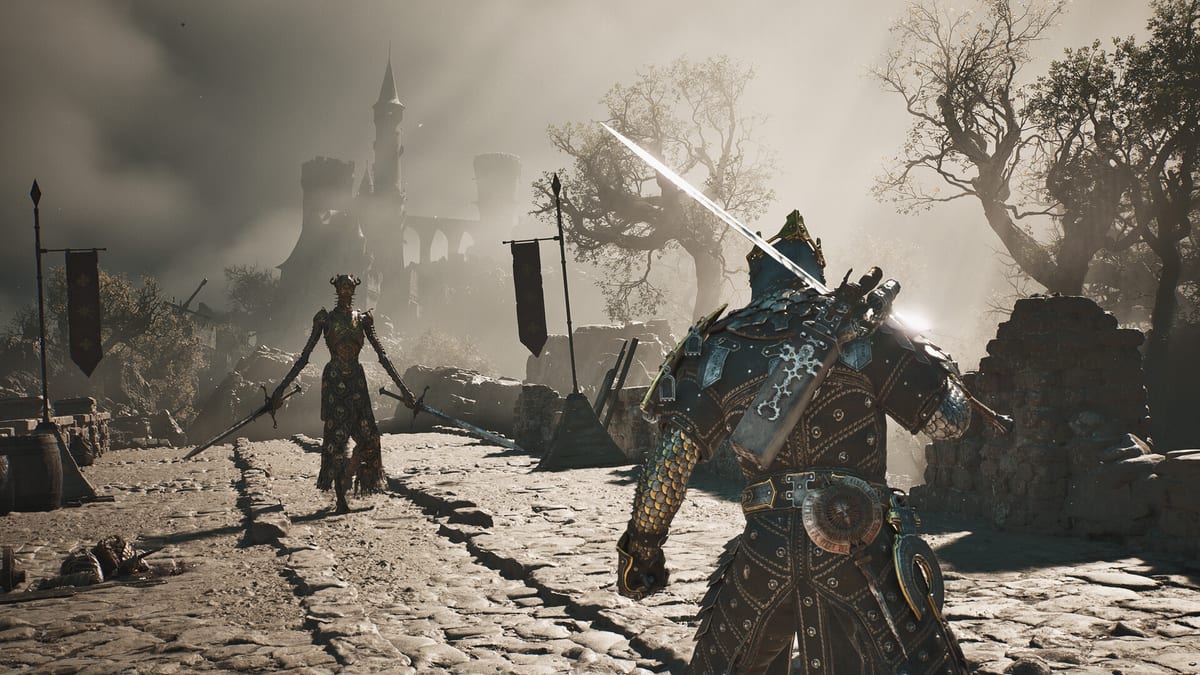
Mortal Shell II’s biggest mechanical statement is simple: combat is unrestricted by stamina. Cold Symmetry moved the skill check from “can I afford this roll?” to “is this the right attack, Harden, or parry right now?” Master that shift and the sequel’s aggressive rhythm clicks. Fail it and you will die mid-combo with nowhere to blame but greed.
Watch the official combat showcase
The extended gameplay reveal below shows Tiel, Eredrim, and Proxima carving different paths through the open world. Use it as a visual reference for pacing, Harden commits, and how Shell identity changes approach—not as a spoiler-free beginner route.
The posture loop
Official copy frames the loop as exploiting multiple tactics to shatter enemy posture, then landing critical strikes. Posture is not a single button. Mix light pressure, heavy commits, Shell abilities, and well-timed Harden breaks so the enemy’s composure collapses. Once posture breaks, convert immediately; hesitation gifts them a reset.
Harden as your stone safety net
Harden turns you to stone to absorb punishment, historically mid-animation. In the sequel it remains the identity skill: a cooldown-driven denial tool rather than a stamina sink. Early unlock is tied to Vatra’s Seal on the grotto / Tar Golem path—see the dedicated Seals & Harden page for Perfect Harden and Break meter details. Advanced habits include Harden through multi-hit strings, Harden to create a punish window, and avoiding Harden spam that leaves you exposed when the cooldown returns. Pair Harden with Shell mobility—Tiel-style routes punish differently than heavier frames.
Seal parries, Resolve, and healing pressure
Parrying with the Seal is high risk. Expect startup before the window is live, and respect red-flash or audio tells that mark unparryable attacks—dodge or Harden those instead. An empty-Resolve parry can still deflect and stagger; a Resolve-fed empowered riposte is where burst damage and sustain live in prolonged fights. Sidearms also spend Resolve, so budget the meter like a shared battery between riposte healing and ranged tools.
Shells change the math
Harros teaches the prologue cadence. Tiel emphasizes speed and opportunistic possession routes in the beta. Eredrim and Proxima, shown in the reveal, advertise tankier versus brood-seeking identities. Compare kits on the Shell roster, Tiel page, Harros page, and Eredrim & Proxima overview. Early preference lists live on the Shell tier list; loadout theory sits in builds and loadouts.
Practice plan
Warm up on open-region trash: one fight using only Harden defense, one fight prioritizing posture break, one fight allowing a single Resolve riposte. Then apply the plan in the prologue walkthrough and boss guide. New players should still read Getting Started and confirm bindings on controls. Beta-limited notes belong in the Open Beta guide.
Common mistakes
- Playing as if stamina still exists and hesitating forever.
- Parrying unparryable telegraphs.
- Dumping Resolve into sidearms before a boss’s punish phase.
- Ignoring Shell swaps when a wall demands a different tool.
Combat mastery in Mortal Shell II is composure under freedom. The meter that used to stop you is gone; your decision quality is the new limiter.
Mid-fight decision tree
When an elite raises a weapon, ask three questions in order. First: is the attack unparryable? If yes, Harden or dodge—never Seal. Second: do I still have Harden cooldown? If yes and the string is long, stone through the dangerous hits. Third: do I have Resolve for a riposte heal? If the boss telegraphs a single clean strike and your meter is ready, parry for the empowered answer. If none of those tools are ready, disengage with a short sidestep and reset your light string instead of forcing a heavy that leaves you planted.
Training drills you can repeat
Clear a small open-region pack five times with different rules. Run one: Harden only, no parries. Run two: posture break focus with mixed lights and heavies. Run three: one Resolve riposte maximum. Run four: sidearm only as a finisher after posture break. Run five: Shell ability first, then convert. These drills transfer directly into the prologue walkthrough and boss guide. Players coming from the beta should also skim Getting Started again after a long break so old stamina habits do not return.
Linking combat to progression
Upgrade paths feel better when your fundamentals are stable. Before spending rare materials, confirm the role of your current Shell on the Shell roster and glance at provisional ranks on the Shell tier list. Loadout experiments belong in builds and loadouts. If you are still deciding whether to buy Devout Advanced Access, keep combat practice inside the free Open Beta guide loop until you are sure the sequel’s pace is for you.
Frequently Asked Questions
Quick answers for launch week and the open beta.
Is there really no stamina bar?
Yes. Official materials state combat is unrestricted by stamina; posture and Harden carry the tension instead.
Should I parry or Harden as a beginner?
Default to Harden and dodges until you recognize unparryable tells, then add Seal parries.
What is Resolve for?
Resolve fuels empowered ripostes and sidearms. Treat it as shared burst and sustain currency.
Does Shell choice matter in combat?
Yes. Each Shell’s innate tools change how you break posture and survive strings.