Mortal Shell II Prologue Walkthrough
Survive the opening lessons before the open world widens.
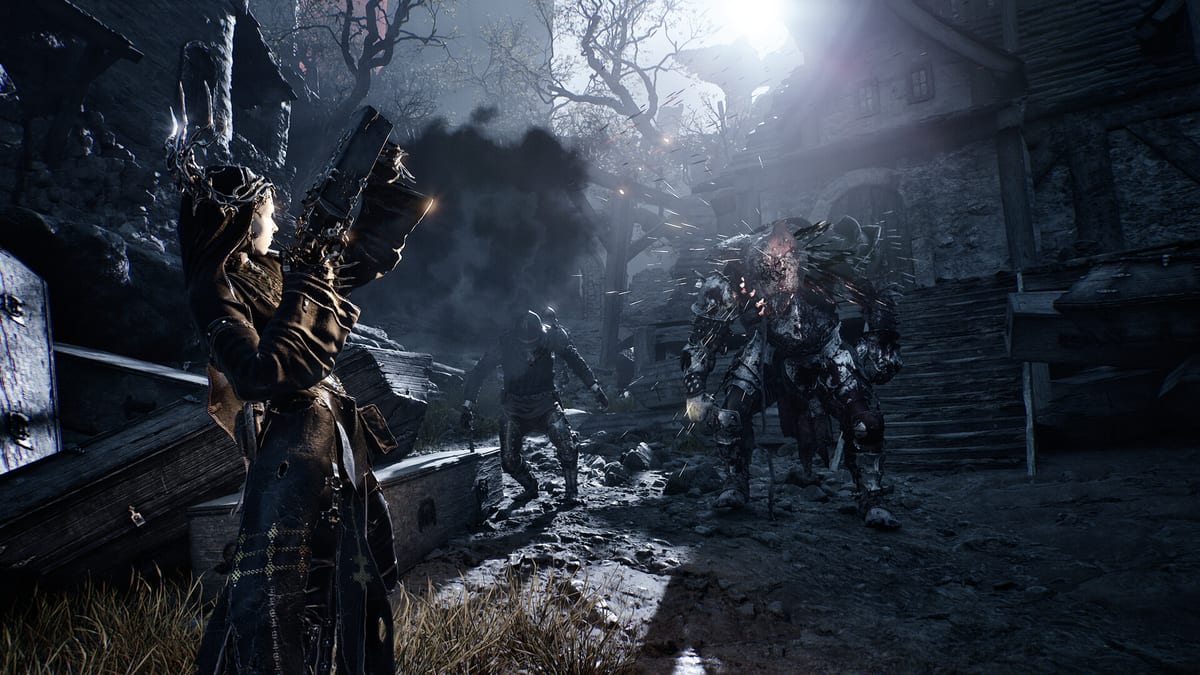
The Mortal Shell II prologue exists to teach the Harbinger fantasy and the sequel’s stamina-free combat without dumping the full interconnected map on you at once. Whether you are inside the Open Beta or the August 20 full release, treat the prologue as a laboratory: learn Harden, understand possession, and leave with a calm plan for the first open region.
Opening goals
You awaken into a ravaged world with a clear mythic job—reclaim the Undermether’s stolen Ova from creatures that guard her unborn. Mechanically, your job is smaller: survive tutorial strings, accept Harros as an early Shell vessel, and stop playing as if a stamina bar still exists. If you need a broader orientation, skim Getting Started first, then return here for route order.
Harros and the first possession fantasy
Harros the Vassal frames the prologue identity for many players. Learn his tempo before you obsess over later Shells. After possession events, test light and heavy strings, then force yourself to Harden on purpose during a safe enemy attack. Details and caveats live on the Harros page. Do not rush past the lesson looking for Tiel; Tiel hunting belongs to the open region and the how to find Shells guide.
Combat checkpoints inside the prologue
Whenever the game introduces Seal or Resolve concepts, pause and restate them in your own words. Posture breaks lead to criticals. Unparryable attacks punish greed. Resolve is shared between empowered ripostes and sidearms. The combat guide expands each point with drills. If bindings feel wrong, fix them on the controls page before the first wall boss.
Leaving the prologue cleanly
Before the map opens, inventory your comfort: Can you Harden without thinking? Can you stop mashing heavies? Did you note any optional pickups for later? Then open the Open Beta guide if you are still in the slice, or the boss guide if a landmark fight is next. Track Shell progress with the Shell checklist as soon as optional corpses appear.
Common prologue failures
Players fail the prologue by treating it like a cutscene highway, by ignoring Harden until a one-shot lesson, or by dumping Resolve into novelty sidearms. Others over-explore side corridors meant for later Shells and burn patience. Stay on the critical path until fundamentals click, then branch.
Bridge into launch week
If the prologue sold you on the sequel, confirm editions on release date and editions. If performance worries you on PC, read system requirements. For a broader impression piece, see the preview review. Official channels remain on the links hub.
Keep exploring this wiki
Related: Open Beta, Tiel, Shell roster, Builds.
Official storefronts and publisher posts are curated on the links hub. Launch shopping details live under release date and editions.
Prologue closing note
The prologue is finished when Harden is instinctive, not when every side corridor is looted. Walk into the open region with Harros lessons intact, then decide whether Tiel hunting or beacon clearing comes first. Keep controls bookmarked if a new device joins the session.
Prologue mastery checkpoint
Before you celebrate leaving the tutorial spaces, confirm you can Harden mid-string without looking at the keyboard legend. If that skill is missing, loop a safe enemy pack once more instead of sprinting toward Tiel rumors. The open region will not wait for rusty habits, and neither will Advanced Access on August 17.
Frequently Asked Questions
Quick answers for launch week and the open beta.
Is the prologue the same in beta and full game?
Expect the same teaching goals. Exact encounters can differ as builds patch toward launch.
Which Shell do I use first?
Harros is the prologue-focused vessel for most players before Tiel appears in the open region.
Should I explore every corner immediately?
Learn Harden first. Optional corpses can wait until you can survive the detour.
What do I read after the prologue?
Open Beta or boss pages, then Shell hunting and builds.